
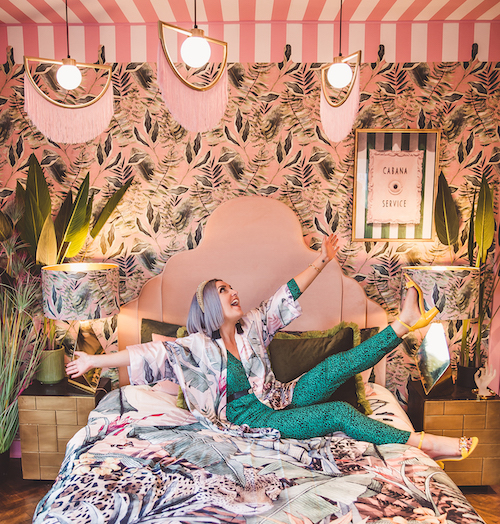
Inspiration
How to order & apply an Avalana mural…
Feb

Don’t panic if this is your first time working with murals, we are here to help every step of the way!
1. Firstly, head to murals on the Avalana shop.
2. Scroll to your chosen mural design and using our calculator, simply input your width and
height measurements.
3. The cost will be calculated once the measurements have been inputted. (£75 per sqm)
4. Please always triple check your exact measurements are correct or get in touch with us if you’re
not sure before placing your order.
(We add an additional complimentary 10cm to your measurements for extra allowance.)

5. Don’t worry if you don’t have a plain wall to work with. This is the perfect time to liaise with
us regarding the placement of architectural features in your home such as a door, overhanging
roof, alcove or also larger items of furniture that are set against the wall. Simply add these
comments box on the checkout page. That way we can ensure that major elements of the
mural design don’t get hidden.
6. Once your order is submitted, we will be in touch via email with your complimentary CAD
visual of how your chosen Avalana Design mural will look on your wall.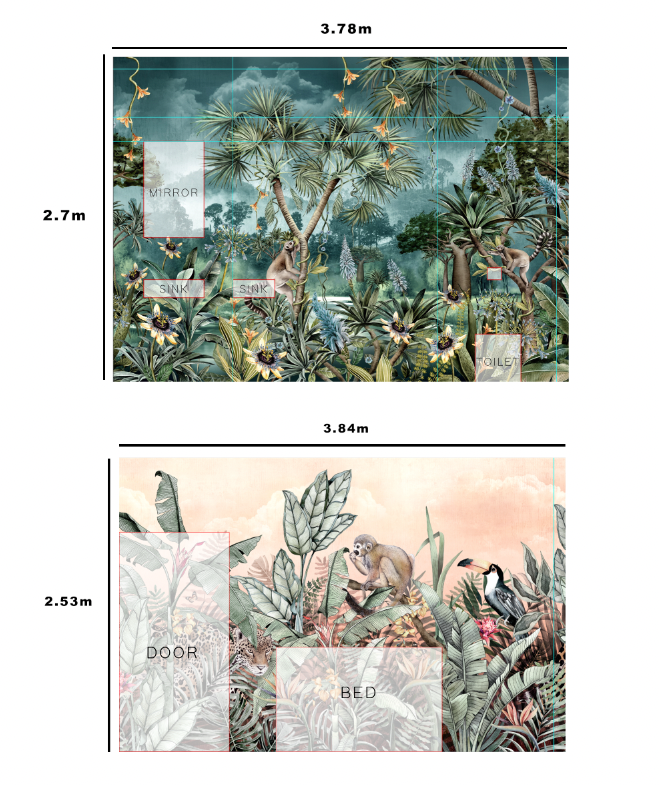 7. It’s only when you are 100% happy with the layout we will send your mural to print. Our print
lead time form date of approval is 7-10 business days and shipping is next day delivery for the
UK mainland. International shipping available on request.
How to hang Avalana wall murals
We make it as easy as possible to hang your mural yourself without the need for a professional.
The murals are printed using UV gel inks onto luxurious, high quality paper with lightfastness of
up to 80 years. They can be easily removed and so great for tweaking into place when you
install. Here are some simple steps to follow to ensure your mural is lovingly applied.
1. The first thing you need to do is ensure your walls are prepared. This will mean your new wall
mural is applied to the best surface possible. Ensure that the wall is clean and smooth. You may
wish to add filler to any holes or areas where plaster has come away and smooth by sanding
before you start your installation. You will also need to ensure you have the right tools. We
suggest getting the following ready: scissors, knife, wallpaper paste ‘paste to wall’, smoother
and a brush, roller and tray to spread the paste evenly and plumb line.
2. Your mural will arrive in a series of pre cut panels. Lay out your wall mural for inspection, in
the order in which it will go on to the wall.
3. All of our murals are ‘paste to the wall’. This means you will paste the wall and not the wallpaper
itself. We advise using a premium premixed tub. Avalana recommends Solvite paste the wall wallpaper adhesive in particular.
4. We would advise you to work left to right or clockwise around the room. Hold your first
mural piece against the wall and mark the wall a few cm less than the width of the piece.
5. Using this as a guide, hold a plumb line level with it and mark a couple of other points down
the string..
6. You can now use this line to arrange your first mural drop.
7. Apply, ensuring it’s vertically straight then smooth down and out towards the edges. Trim the
bottom, top and side with a knife.
8. Enjoy your cinematic scene.
If you have any questions, please do not hesitate to get in touch as we are always happy to help!